A breeding tank is a small separate aquarium dedicated to raising fish from spawning through fry stage to grow-out. It's not always required — livebearers will produce fry in a community tank — but for serious breeding, especially of egg-layers, a dedicated breeding tank is the difference between a few surviving fry and a successful raised generation. Here's how to set one up.
At a glance: why a separate tank at all
| The problem in a display tank | What the breeding tank solves |
|---|---|
| Everything eats the eggs and fry | Parents removed after spawning, and no tankmates at all |
| Fry can't compete for food | A small bare volume where food reaches them and you can see whether they ate |
| Filter intakes kill fry | A sponge filter that physically cannot draw them in |
| You can't see what's happening | Bare bottom, minimal décor, and nowhere for eggs or waste to hide |
| You can't change conditions for one species | Temperature and water parameters set for the spawn, not for the community |
Not every species needs one. Livebearers will breed in a community tank whether you plan it or not — the breeding tank is about how many fry survive, not whether spawning happens.
When You Need a Breeding Tank
You don't need a breeding tank if:
- You're casually breeding livebearers in a planted community and accepting that some fry will be eaten
- You're keeping a self-sustaining colony where natural attrition manages numbers
- You're not trying to save specific spawns
You do need a breeding tank if:
- You're breeding egg-layers — most parents eat their eggs and need to be separated
- You want to raise a specific spawn to adulthood with high survival
- You're working with valuable or rare species where every fry counts
- The fry need different conditions (temperature, food, water flow) than the display tank
- The fry are too small to compete in the main tank
Tank Size
The right size depends on what you're breeding:
5–10 gallons is plenty for:
- Small livebearer broods (guppies, platies)
- Small egg-layer pairs (small tetras, white cloud minnows)
- Raising small fry through their first weeks
10–20 gallons for:
- Larger livebearer broods (mollies, swordtails)
- Larger egg-layer pairs (corydoras, angelfish)
- Grow-out of fry past first weeks
20+ gallons for:
- Larger species (some cichlids, larger goldfish/koi)
- Long-term grow-out of large broods
The minimum-effective-size principle: smaller tanks are easier to control (water parameters, feeding visibility) but less forgiving of mistakes. A 10-gallon is a sweet spot for most beginner breeding.
Equipment Essentials
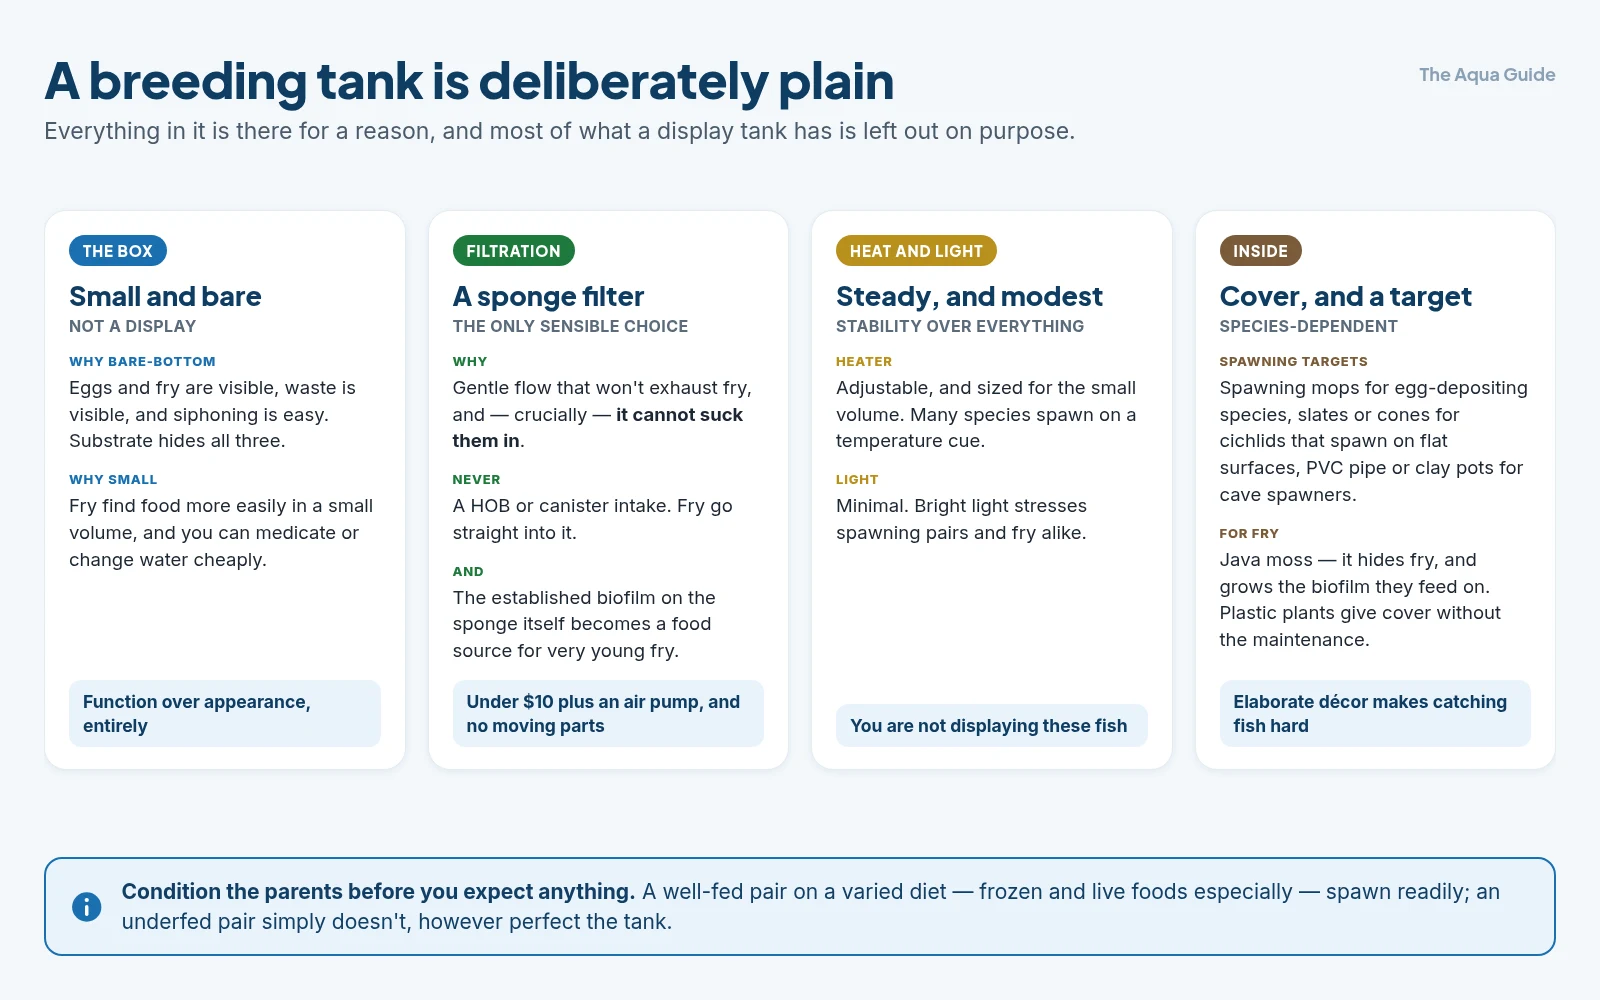
Like a hospital tank, breeding tanks are simple. Less is more.
Filter: Sponge Filter (Always)
A sponge filter is the only correct choice for a breeding tank. Reasons:
- Gentle flow that won't suck up fry or eggs
- Established biofilm on the sponge becomes a food source for very young fry (microorganisms growing on the sponge)
- Easy to clean without disturbing the tank
- Cheap and reliable — under $10 plus an air pump
- No moving parts that can chop up fish
Power filters and HOBs are the wrong choice — they suck up fry, the impellers can injure or kill them, and the flow stresses small fish.
Heater
Match the temperature your breeding species needs. Many breeding situations benefit from temperatures at the upper end of the species' comfort range (warm encourages spawning, accelerates fry development). Set the heater accordingly.
Lighting
Modest. Many breeders prefer dim lighting in breeding tanks because:
- Reduces stress on parents and fry
- Lets parents feel safe enough to spawn
- Some species don't spawn in bright light
A simple LED on a timer at low intensity for 8–10 hours is fine. Don't worry about plant-specific lighting — a breeding tank often doesn't need much plant growth.
Substrate: Bare-Bottom or Thin Layer
Most breeders prefer bare-bottom breeding tanks:
- Easier to spot uneaten food and waste
- Easier to vacuum daily
- Easier to count and catch fry
- Eggs are visible (essential for many egg-layer species)
Some breeders use a thin sand layer for corydoras or other substrate-loving species, or a fine gravel for naturalistic feel. But bare-bottom is cleaner and easier for most setups.
Décor
Sparse, purposeful:
- Spawning mops — bundles of yarn that mimic plant cover where some egg-layers deposit eggs (a classic for killifish and some others). Easy to remove with eggs attached.
- Java moss — a clump provides hiding for fry, surface area for biofilm, and is fry-safe.
- Spawning slates or cones — flat rocks or upright cones for cichlids that spawn on flat surfaces.
- PVC pipe or clay pots — caves for cave-spawning species.
- Plastic plants — fry hiding cover without the maintenance demands of live plants.
- Floating plants — surface cover for fry tanks (guppy fry love this).
Match the décor to your species. Cory cats need flat surfaces. Angelfish need a vertical surface (a leaf or slate). Killifish need spawning mops. Research your species' specific needs before setup.
Lid
Important. Newly-fertilized eggs aren't a flight risk, but adult fish in breeding mode can be jumpier than usual. Cover the tank.
Setting Up: The Process
Start-to-finish setup:
1. Rinse the tank thoroughly with water only (no soap).
2. Add bare or thin substrate.
3. Set up the sponge filter with appropriate air pump. Seed it with established media from another tank to give it bacteria. Run for at least a few days before adding any fish.
4. Add the heater. Set to target temperature for your species.
5. Add water (dechlorinated, temperature-matched). Use the same water source as your main tank for consistency.
6. Add décor appropriate to your species — spawning mops, java moss, breeding caves, whatever the species needs.
7. Run the system for at least a few days to let temperature stabilize and bacteria establish.
8. Condition the parents in your display tank first (week of varied high-quality food including frozen/live where possible).
9. Move the conditioned parents to the breeding tank — usually a male and one or more females, depending on species.
10. Wait for spawning. Some species spawn within hours of being moved; others take days or weeks of conditioning.
Water Parameters for Breeding
Most species spawn under specific conditions that match their wild habitat. Common patterns:
Temperature change triggers many species. A drop of 2–4°F mimicking rainy season can prompt corydoras and many other egg-layers to spawn. Mollies and other warm-water species often need stable warm temperatures.
Water hardness/pH matters for some species:
- Soft acidic water (pH 6.0–6.8, low GH) for many tetras, angelfish, discus, dwarf cichlids
- Hard alkaline water (pH 7.5–8.5, high GH) for African cichlids, mollies
- Brackish for some species (mollies tolerate, others require)
Research your specific species. Some won't spawn until conditions match their preferences closely.
Cleanliness. Most species need clean water with regular changes. Some breeders do larger more frequent water changes specifically to trigger spawning (mimicking rain).
Cover and security. Fish that feel exposed won't spawn. Provide hiding cover so they feel safe.
Conditioning Parents
"Conditioning" means feeding parents intensely for 1–2 weeks before placing them in the breeding tank. This:
- Builds the female's egg supply
- Strengthens the male's sperm/fertility
- Brings fish into peak breeding condition
What to feed during conditioning:
- Live foods if available — baby brine shrimp, daphnia, blackworms, mosquito larvae
- Frozen foods as substitutes — frozen bloodworms, brine shrimp, cyclops, daphnia
- High-quality varied diet including the best flake/pellet you have
- Feed 3–4 times daily instead of normal 1–2 times
After conditioning, the female should look noticeably plump with eggs, and both fish should be in peak color and condition.
After Spawning
Once spawning has occurred (eggs scattered, eggs in mops, fry dropped, whatever your species does):
For most egg-layers: Remove the parents back to the display tank. Most species will eat their own eggs if left in the tank.
For livebearers: Remove the mother once she's clearly done delivering. Fry stay in the breeding tank.
For mouth-brooders (some cichlids): Leave the brooding parent until they release fry; then remove the parent.
For pair-bonding species (some cichlids that guard fry, like angelfish under good conditions): Some pairs guard fry successfully and can be left together. Most beginners separate to maximize survival.
Maintaining a Breeding Tank
While fry are growing:
Daily water changes of 20–25% — fry tanks need extra-clean water as fry are sensitive to waste.
Multiple small feedings per day — 4–6 times — with appropriate foods (covered in the live foods guide).
Watch for any waste or uneaten food — siphon out immediately. Bare-bottom tanks make this easy.
Monitor temperature and parameters closely. Small tanks swing faster than large ones.
Don't disturb unnecessarily. Repeated catching, moving, and stressing slows fry growth.
The grow-out period from spawn to viable juvenile is typically 4–12 weeks depending on species.
Reusing the Breeding Tank
Between breeding events:
- Drain and clean if the tank had any disease issues
- Keep the sponge filter wet (running in another tank, or in a bucket with aeration) to preserve the bacterial colony
- Replenish décor as needed
- Many keepers keep the breeding tank running permanently, swapping out fish but maintaining the established cycle
Common Setup Mistakes
Over-decorating. Pretty doesn't matter; functional does. Sparse, purpose-driven décor wins.
Using a power filter. Will kill fry. Sponge filter or nothing.
Bright lights on a shy spawning species. Many species refuse to spawn under intense lighting.
Adding parents before tank is cycled. Mini-cycles during breeding stress everyone.
Not conditioning parents. Underprepared fish produce small spawns of weak fry.
Wrong tank size. Too small stresses adults; too large makes it hard for them to find each other for spawning.
Insufficient hiding for fry. Even in a separate tank, fry need cover from light, from each other, and from any cleanup species in the tank.
The Bottom Line
A breeding tank is the foundation of serious aquarium breeding: a small (5–20 gallon) bare-bottom or thin-substrate setup with a gentle sponge filter, appropriate heater, modest lighting, and purpose-driven décor matched to your species (spawning mops, java moss, breeding caves, slates). Setup is simple — sponge filter seeded with established media, heater set to species temperature, dechlorinated water, sparse décor, several days to stabilize before adding fish. Condition parents intensely for 1–2 weeks before moving them to the breeding tank, then provide the right environmental triggers (temperature change, water parameter match, cleanliness, security) for your species. After spawning, remove parents (most eat their young), feed fry frequently with appropriate foods, do daily small water changes, and grow them out for 4–12 weeks before they're ready for the display tank. Cheap to set up and surprisingly effective — every serious breeder eventually keeps a permanent breeding tank running.
Related guides
- The easiest fish to breed: livebearers
- Breeding egg-layers: corydoras, tetras and beyond
- Raising fry: the first weeks
- Live and cultured foods for fry
- Choosing the right filter: HOB vs sponge vs canister
- Quarantine: why and how
- Fungal infections: cotton-like growth
- The beginner's guide to breeding invertebrates
Got questions about your specific setup? Drop them in our Community Forum — we love helping new fishkeepers get started right.