You know water changes are the most important habit in fishkeeping, and you know roughly how much and how often. Now here's exactly how to do one properly — the actual mechanics, step by step, including the small details that prevent the common mistakes. A water change is genuinely simple once you've done a couple, and this guide will get you there.
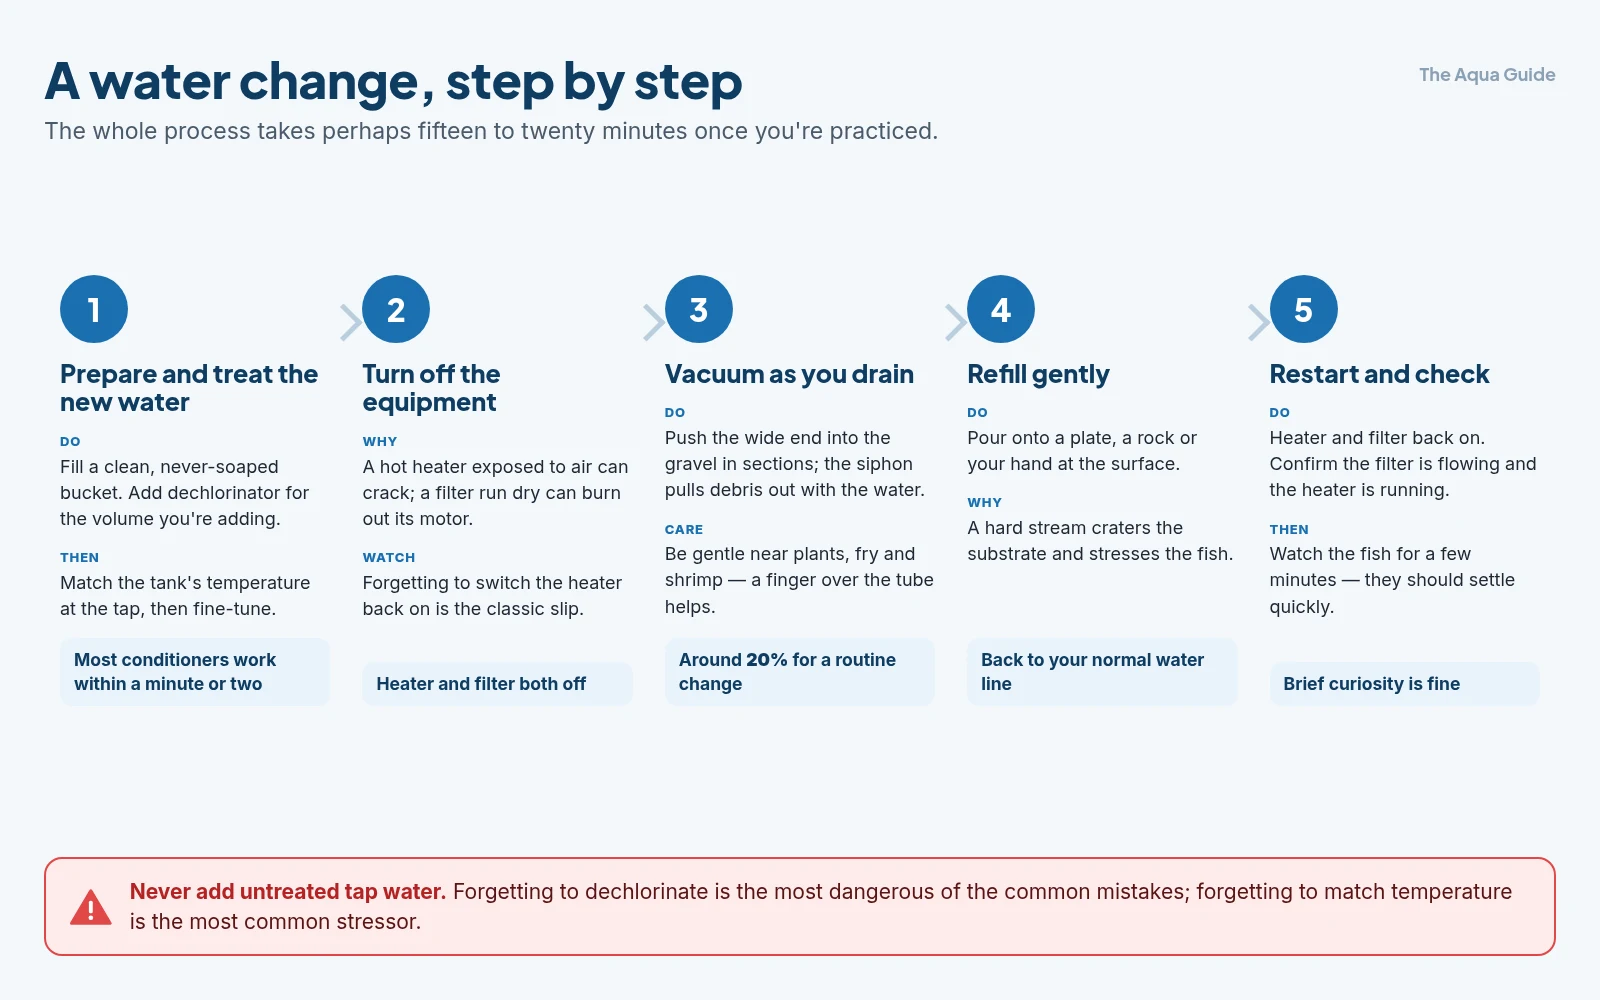
At a glance: the five steps
| Step | What you do | The detail that matters |
|---|---|---|
| 1. Prepare the water | Fill a clean bucket, add dechlorinator for the volume, match the tank's temperature | Temperature is the step beginners most often skip, and the one that stresses fish most |
| 2. Turn off equipment | Heater and filter both off | A hot heater exposed to air can crack; a filter run dry can burn out its motor |
| 3. Vacuum as you drain | Siphon through the substrate, around 20% for a routine change | Rotate areas — you don't need to vacuum every inch every time |
| 4. Refill gently | Pour onto a plate, a rock or your hand | A hard stream craters the substrate and stresses the fish |
| 5. Restart and check | Heater and filter back on, then watch for a few minutes | Forgetting the heater is the classic slip |
What you need before you start: a bucket kept only for the aquarium, a gravel vacuum, dechlorinator, a thermometer and clean replacement water. Fifteen to twenty minutes once you're practiced.
What You'll Need
Gather these before you start, so you're not scrambling mid-change:
A bucket reserved only for aquarium use (never one that's held soap or cleaning chemicals). A gravel vacuum / siphon. A source of dechlorinator (water conditioner). A thermometer. And clean replacement water. Having a dedicated, never-soaped bucket matters more than it sounds — detergent residue can poison a tank, so keep your aquarium bucket separate and labeled.
Step 1: Prepare and Treat the New Water
Start by sorting out your replacement water, because it needs to be safe before it goes anywhere near your fish.
Fill your clean bucket with tap water. Add dechlorinator according to the label for the volume you're adding — this neutralizes the chlorine and chloramine that would otherwise harm your fish and your beneficial bacteria. Most conditioners work within a minute or two. Then check the temperature: the new water should closely match your tank's temperature. A simple way is to adjust your tap until it runs at roughly the right warmth, then fine-tune. Matching temperature is the step beginners most often skip, and it's the one that causes the most stress to fish — a sudden temperature swing is a shock you can easily avoid.
(If your tap water has chemistry very different from your tank, or you use RO water, there's a bit more to preparing replacement water — that's covered in its own guide. For most people, dechlorinated, temperature-matched tap water is exactly right.)
Step 2: Turn Off Equipment
Before you start removing water, switch off your heater and filter. This protects them: a heater exposed to air while still hot can crack, and a filter running with the water level dropped can run dry and burn out its motor. It only takes a moment and it saves equipment. Just remember to turn them back on afterward — forgetting the heater is a classic slip.
Step 3: Vacuum the Substrate as You Drain
Now use your gravel vacuum to remove the old water — and do it through the substrate, because this is where a water change earns its keep. A lot of waste, uneaten food, and detritus settles into and on top of the gravel, and the gravel vacuum lets you siphon that gunk out at the same time as you remove water.
Push the wide end of the siphon into the gravel in sections, letting it pull up the debris while the water drains into your bucket. Work your way around the tank, cleaning a different portion of the substrate each time (you don't need to vacuum every inch every change — rotating areas works well). Keep going until you've removed your target amount of water — around 20% for a routine change. Keep an eye on the volume so you don't overshoot.
Be gentle around plants and any shy fish, and take care not to siphon up small fish, fry, or shrimp — a finger over the tube or a pre-filter sponge helps if that's a risk.
Step 4: Refill Gently
With the old water out and the substrate cleaned, add your treated, temperature-matched replacement water back in. Pour it gently — onto a plate, a rock, or your hand held at the surface — to avoid blasting a crater in your substrate or stressing your fish with a hard stream. Fill back to your normal water line.
Step 5: Restart Equipment and Check
Turn your heater and filter back on. Take a moment to confirm the filter is flowing properly and the heater is running. Then just observe your fish for a few minutes — they should settle quickly and behave normally. A little brief activity or curiosity is fine; signs of real distress would suggest a temperature or chemistry mismatch to learn from next time.
That's it. The whole process takes perhaps fifteen to twenty minutes once you're practiced.
Common Mistakes to Avoid
A few pitfalls catch beginners, all easily avoided. Forgetting to dechlorinate is the most dangerous — never add untreated tap water. Forgetting to match temperature is the most common stressor. Forgetting to turn the heater back on is the most common "oops." Using a bucket that's held soap can poison the tank. And vacuuming too aggressively around plant roots or uprooting your aquascape is a gentler concern, but worth a light touch.
Making It Easier
A few things smooth the routine over time. A python-style siphon that connects to a tap lets you drain and refill directly without hauling buckets, which is a game-changer for larger tanks (you still dose dechlorinator into the tank as you refill, and match temperature at the tap). Keeping all your gear together in one spot means you're more likely to actually do the change on schedule. And tying it to a fixed day each week turns it from a chore you dread into an automatic habit.
The Bottom Line
A proper water change is five simple steps: treat and temperature-match your new water, turn off the heater and filter, vacuum the substrate as you siphon out about 20% of the old water, gently refill with the treated water, and restart your equipment. The details that matter most are dechlorinating every drop, matching temperature to avoid shock, using a soap-free bucket, and vacuuming the gravel where waste hides. Do this consistently — a steady weekly rhythm — and you've mastered the single most valuable maintenance habit in the hobby.
Related guides
- How often should you do a water change — and how much?
- Tap, RO and remineralised water explained
- Can I use chemical dechlorinators during cycling?
- How to clean your filter without crashing the cycle
- Why is my water still cloudy after a water change?
- The daily, weekly and monthly maintenance checklist
- What are safe ammonia, nitrite and nitrate levels?
- The nitrogen cycle, explained
Got questions about your specific setup? Drop them in our Community Forum — we love helping new fishkeepers get started right.